1. Log in at k12els.com, Clever, or ClassLink as the school administrator.
2. Select ‘Administrator’ on the right side dashboard.
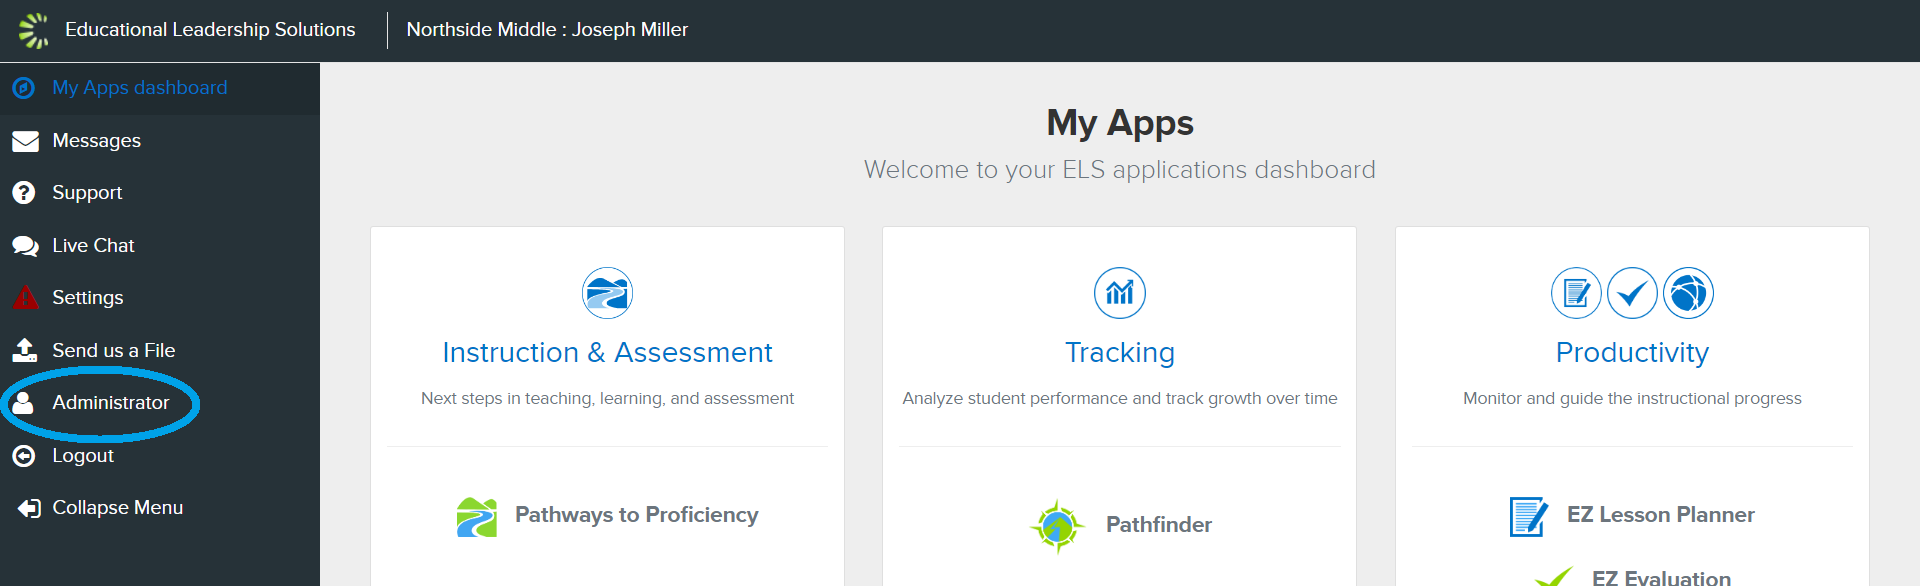
3. Select ‘Custom Student Groups’ in the top dashboard.

4. Navigate to the ‘Add’ tab.
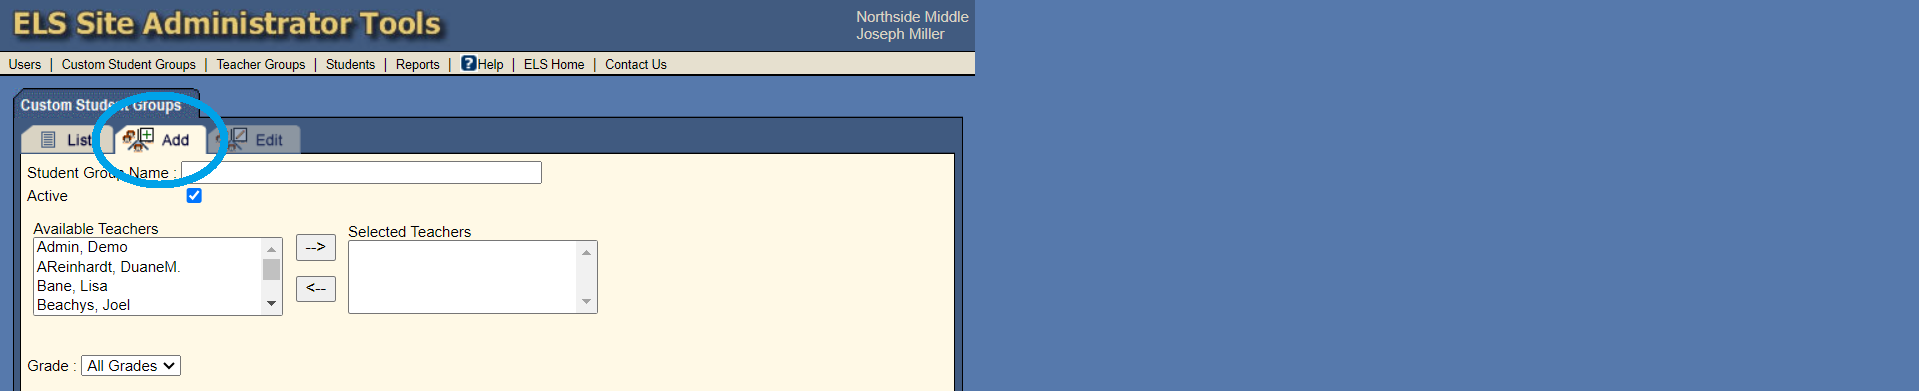
5. Add a custom group name.

6. Ensure that the ‘Active’ box is checked in order for custom groups to be visible in Student Tracker.

7. Click on the teacher’s name then click ‘->’ to add the teacher. 
8. Click on the desired student names then click ‘->’ to add the student(s) or click ‘->>’ to add all students.

9. Once all students are added, click 'Save'.
Was this article helpful?
That’s Great!
Thank you for your feedback
Sorry! We couldn't be helpful
Thank you for your feedback
Feedback sent
We appreciate your effort and will try to fix the article